How to Use Wood Texture in Maya?
Wood textures are essential elements in 3D modeling and design, providing a sense of realism and natural detail to a variety of projects. Whether you're creating realistic architectural visualizations, furniture models, or even interior scenes, using wood textures correctly can greatly enhance the visual quality of your work. Autodesk Maya, a powerful 3D software tool, offers a comprehensive suite of tools and techniques to apply wood textures effectively. This article will walk you through the steps of applying wood textures in Maya, highlighting the processes of texture mapping, material creation, and optimizing for the best visual results.

Preparing the Model for Texturing
Before applying any wood texture, it’s important to ensure that the model you’re working with is properly prepared. This includes geometry cleanup and, most importantly, unwrapping the UVs.
1. Unwrapping UVs
In Maya, unwrapping the model's UVs is crucial to ensure that textures are applied correctly. UV mapping translates the 3D surface of your model into a 2D layout, where the texture can be projected onto it. When unwrapping, aim for minimal distortion and consistent texture scale across the surface. A common issue with wood textures is stretching or skewing the grain, which can make the texture look unrealistic. By properly unwrapping the model, the wood grain will flow naturally, enhancing realism.
You can use Maya's UV Editor for this task, where you can manually adjust the seams or use automatic unwrapping techniques. For complex shapes, such as furniture with many intricate details, spending time to fine-tune your UVs will ensure a more seamless texture application.
2. Clean Geometry
Next, ensure that your model's geometry is clean and free from errors like non-manifold edges or faces with normals pointing in the wrong direction. This is especially important when working with detailed textures like wood, as surface artifacts or shading problems may become more apparent. Regularly check for any issues using Maya's Mesh Cleanup tool, which can help resolve minor geometry problems before you start texturing.

Choosing the Right Wood Texture
Choosing the appropriate wood texture is vital for achieving a realistic look. Wood textures can vary significantly in their appearance, depending on the type of wood you're simulating, such as oak, pine, mahogany, or walnut. You’ll want to select textures that match the specific aesthetic you're aiming for, keeping in mind the type of surface you're designing. There are two main ways to acquire wood textures: using image-based textures or creating procedural textures within Maya.
1. Image-Based Wood Textures
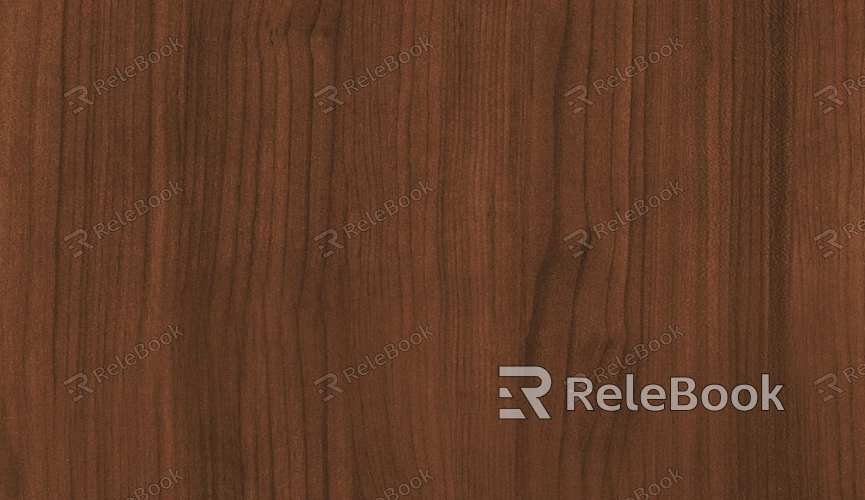
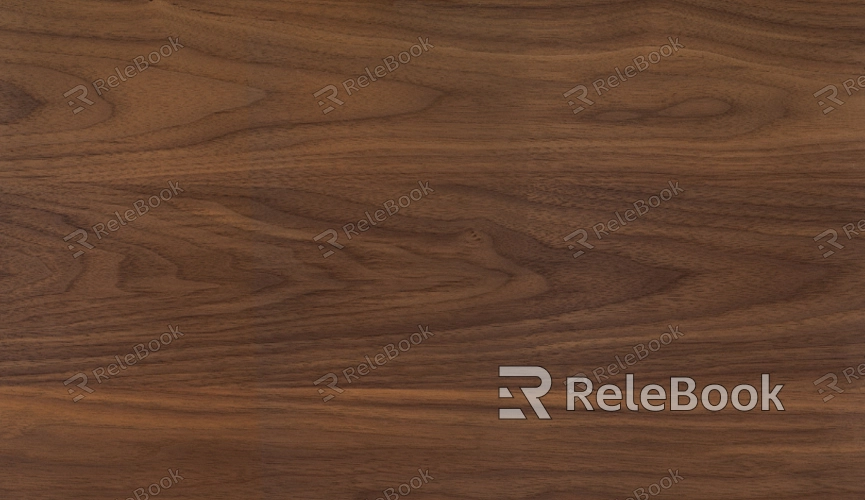
Image-based textures are often the easiest way to start. High-quality textures, such as those available from texture libraries, will have a detailed and realistic appearance. Look for textures with high resolution and attention to natural details like wood grain, knots, and imperfections. It's also important to consider the seamless nature of the texture so that when applied, it does not reveal any noticeable borders. Websites like Relebook provide excellent 3D models and textures that can be used in your Maya projects.
2. Procedural Wood Textures
If you prefer more control and flexibility, you can create procedural wood textures directly in Maya using the built-in Hypershade editor. Procedural textures generate a pattern using mathematical algorithms, allowing you to create highly customizable wood grains. The downside is that procedural textures may require more fine-tuning to get the natural, organic look of real wood. However, they are ideal if you need a texture that can scale indefinitely without losing quality.
Creating and Applying Materials in Maya
Once you have your wood texture ready, it’s time to create the material and apply it to your model. In Maya, materials are managed within the Hypershade editor, which is the central hub for creating, editing, and assigning materials to objects.
1. Creating a Basic Material
Start by creating a lambert or blinn material in Hypershade. These are basic shaders that work well for texturing, as they can simulate the smoothness and roughness you might find in wood surfaces. For more advanced control, you can use Arnold's aiStandardSurface material, which provides more flexibility, particularly in how light interacts with the surface.
Apply your texture to the material by connecting it to the color channel of the shader. If you’re using a bump map to simulate the wood grain’s depth, connect the bump texture to the bump mapping input of the shader. Make sure to adjust the bump strength and depth to make the wood grain appear more three-dimensional.
2. Adjusting the Material Settings
To achieve a more realistic wood look, you will need to tweak several material properties. For wood, these include adjusting the roughness of the surface to mimic the natural unevenness of real wood. The roughness can be controlled through the specular channel in your material settings. You might also want to tweak the reflectivity and transparency to simulate how light behaves on a wooden surface, especially if the wood has a glossy finish.
Another key adjustment is the anisotropic shading, which helps create a directional reflection that mimics the grain direction in wood. This is particularly useful for simulating the way light interacts with a wood surface based on its grain patterns. By adjusting the anisotropy, you can make the wood look more natural and less flat.
Fine-Tuning the Wood Texture and Material
To further enhance the realism of your wood texture, consider adding details like imperfections, scratches, and aging effects. Real wood surfaces often show signs of wear, such as scratches from use or slight discoloration due to exposure to sunlight or moisture. Adding these effects can be done by layering additional textures, such as grunge maps or dirt maps, over the main wood texture.
1. Detailing with Masks
You can also use masking techniques to control where certain textures appear on the model. For example, you can apply a rust or dirt texture only to specific areas, like the edges or bottom parts of the furniture, where natural wear and tear would occur.
2. Using the UV Layout for Seamless Texturing
To avoid visible seams, make sure that the UV layout is carefully arranged. A seamless UV layout ensures that the grain of the wood flows consistently across the entire model. You can use the UV Tile feature in Maya to help achieve this, allowing you to apply a large texture without worrying about stretching or misalignment.
Rendering the Wood Texture
Once you’re satisfied with the applied texture, it’s time to render the scene. Rendering wood textures can be tricky, as the texture’s appearance will vary depending on the lighting, the surface’s roughness, and the material settings.
1. Lighting Setup
In Maya, proper lighting is essential to showcase your wood texture effectively. Use a combination of key light, fill light, and backlighting to create depth and contrast. HDRi (High Dynamic Range Imaging) lighting can be used to simulate realistic environmental lighting, giving your wood textures a more natural appearance by enhancing reflections and shadows.
2. Final Render Settings
When rendering, especially if you’re using advanced render engines like Arnold, adjust the render quality settings to avoid artifacts. Make sure to use a high-quality sampling rate for materials to reduce noise in reflections and shadows. Additionally, tweak the ray tracing settings to achieve more accurate lighting interactions with your wood surface.
Applying wood textures in Maya is a process that combines proper modeling, texture preparation, and material creation. By ensuring your model is properly UV-mapped, selecting the right wood textures, and fine-tuning materials, you can achieve stunningly realistic results. Whether you’re working with image-based or procedural textures, the key to success lies in attention to detail and careful adjustments to the material settings. By following these techniques, you can bring your wood models to life in a way that resonates with authenticity and quality.
For those looking to elevate their work further, downloading high-quality 3D models and textures from platforms like Relebook can provide the resources needed to enhance your designs. Visit the website today to explore a wide range of textures and models to take your Maya projects to the next level.
FAQ
How do I make my wood texture look more realistic in Maya?
To make your wood texture look more realistic, focus on fine-tuning the material properties such as roughness, reflectivity, and anisotropic shading. Adding imperfections like scratches, discoloration, or dirt maps will help achieve a more authentic wood look.
Can I use procedural textures to create wood in Maya?
Yes, procedural textures in Maya allow you to generate wood textures without relying on image files. While they provide more flexibility and scalability, they may require more adjustments to get the exact natural look of wood.
How do I fix texture stretching in my wood model?
Texture stretching often occurs when the UVs are not properly unwrapped. Ensure that your UV layout is clean and well-distributed, using tools like Maya’s UV Editor to fix any stretching or distortion.
Where can I find high-quality wood textures for Maya?
You can find a wide range of high-quality wood textures on platforms like Relebook, which offers realistic textures for architectural and design projects, including wood, metal, and fabric textures suitable for use in Maya.
What render settings should I use for wood textures in Maya?
When rendering wood textures in Maya, use a high-quality sampling rate and enable ray tracing for accurate light interactions. HDRi lighting can also be used to enhance reflections and shadows, making the wood texture appear more realistic.

